From an outsider’s perspective, it often seems like medical assistants and phlebotomy technicians run on autopilot. We often see them going about their days in medical offices and hospitals, but most of us fail to consider their day-to-day experiences. Specifically, the blood draw process seems pretty straightforward, but much effort and training go into ensuring a proper procedure.
Phlebotomy technicians undergo meticulous courses to ensure their patients remain comfortable during the blood draw. These courses teach them how to properly prepare their workspaces, engage with patients, and perform precise techniques to minimize pain. Below are just some steps phlebotomy technicians take before every blood draw procedure.

Preparing for a Successful Blood Draw
Before every procedure, a phlebotomy technician first prepares their work area. This involves sterilizing the workspace and laying out the necessary equipment for the blood draw. The appropriate venipuncture tools, tourniquets, vials, tubing, disinfectant, gloves, lab forms, and labels must be on hand to ensure things run smoothly.
Once the patient arrives, the technician introduces themselves and confirms the patient’s identity. A series of questions regarding allergies and the patient’s comfort level follows. When ready to begin, the technician must wash their hands and put on a clean pair of gloves, then find a suitable vein for the procedure.
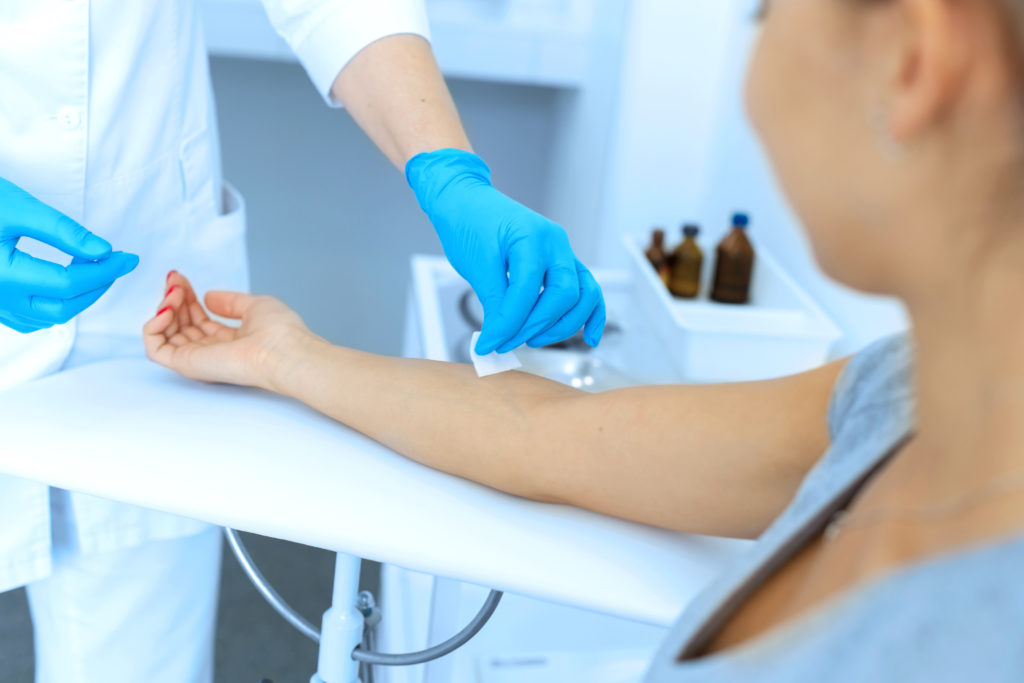
During the Blood Draw
Once a suitable vein is located, the technician places a tourniquet 3-4 inches above the injection site. The injection site is disinfected with alcohol and allowed to dry. With the tourniquet on and the technician’s thumb below the injection site, the needle is inserted at a 15-30 degree angle. When done correctly and quickly, this should not cause too much discomfort.
The blood is collected in specified evacuated tubes. Different tube colors are used to determine the sample for which test. Once all the necessary blood has been collected, the tourniquet is removed from the patient’s arm, and the needle is removed. Afterward, a cotton ball or gauze is pressed against the injection site, then secured with sterile tape.
Order of Blood Draw Tubes
Yes, the order matters. A lot. The wrong sequence can contaminate samples and mess with test results, which means wasted time, confused diagnoses, and potentially repeat draws. That’s why every phlebotomy technician memorizes the correct order of draw like it’s second nature.
The basic rule? Start with blood culture bottles (to avoid contamination), then move to light blue (coagulation), followed by red (serology), gold or tiger-top (SST), green (heparin), lavender (EDTA), and gray (glucose).
When It’s Not So Simple: Handling a Hard Stick Blood Draw
Not every blood draw goes according to plan. A hard stick blood draw refers to a situation where it’s difficult to locate a viable vein or successfully draw blood.
Every experienced phlebotomy technician has faced this challenge. It’s frustrating for both the patient and the technician, and it calls for patience, skill, and solid technique.
If you want to know how to approach these situations calmly and confidently, check out our full article. We break down practical steps, techniques, and tips that actually work in the field.
After the Procedure
Once the procedure is complete, the phlebotomy technician must properly dispose of all the needles and collection devices used. Labels displaying the patient’s first and last name, their date of birth, and the date and time of the blood draw are placed on the samples.
Finally, after ensuring that the patient is feeling okay and can leave on their own, the technician must prepare the samples for transport in a leak-proof bag labeled with the patient’s information. The last step is to clean the workspace again and prepare it for the next procedure.
Is Bruising After a Blood Draw Normal?
Yes, minor bruising is totally normal. It usually happens when a bit of blood leaks out under the skin after the needle is removed. To minimize bruising, always apply firm pressure with gauze immediately after withdrawing the needle, at least for 30 seconds. Make sure the patient keeps their arm straight and avoids heavy lifting for a few hours. A clean technique and steady hand go a long way.
What to Do If the Arm Hurts After a Blood Draw?
Mild soreness is normal, but if a patient mentions sharp or lingering pain, take it seriously. Ask where it hurts and how long it’s lasted. Reassure them, advise rest and cold compresses, and suggest they contact their provider if it worsens or doesn’t improve in a day or two.
What Are the Symptoms of Nerve Damage After a Blood Draw?
If a patient feels a sudden “electric” pain, numbness, or tingling during the draw, stop immediately. Withdraw the needle and document the incident. Nerve damage is rare, but early recognition matters. Always choose sites carefully and avoid deep or awkward angles.
Train to Become a Phlebotomy Technician at Montes HealthCare College
If you’re interested in a fulfilling career as a phlebotomy technician, connect with our office by dialing (310) 436-7000 or clicking HERE.
Along with campus tours, we also offer students the opportunity to experience a real class before committing to a tuition payment schedule. Get in touch and attend one of our class sessions to see if our programs are right for you. No payment is necessary; simply contact us to request a pre-enrollment class audit. We look forward to joining you on your journey to success!